Easy 10-Minute Postpartum Ab Home Workout for Busy Mums
Start this today — alongside your 21-day protocol — to wake up your core muscles as the nerve signal restores.
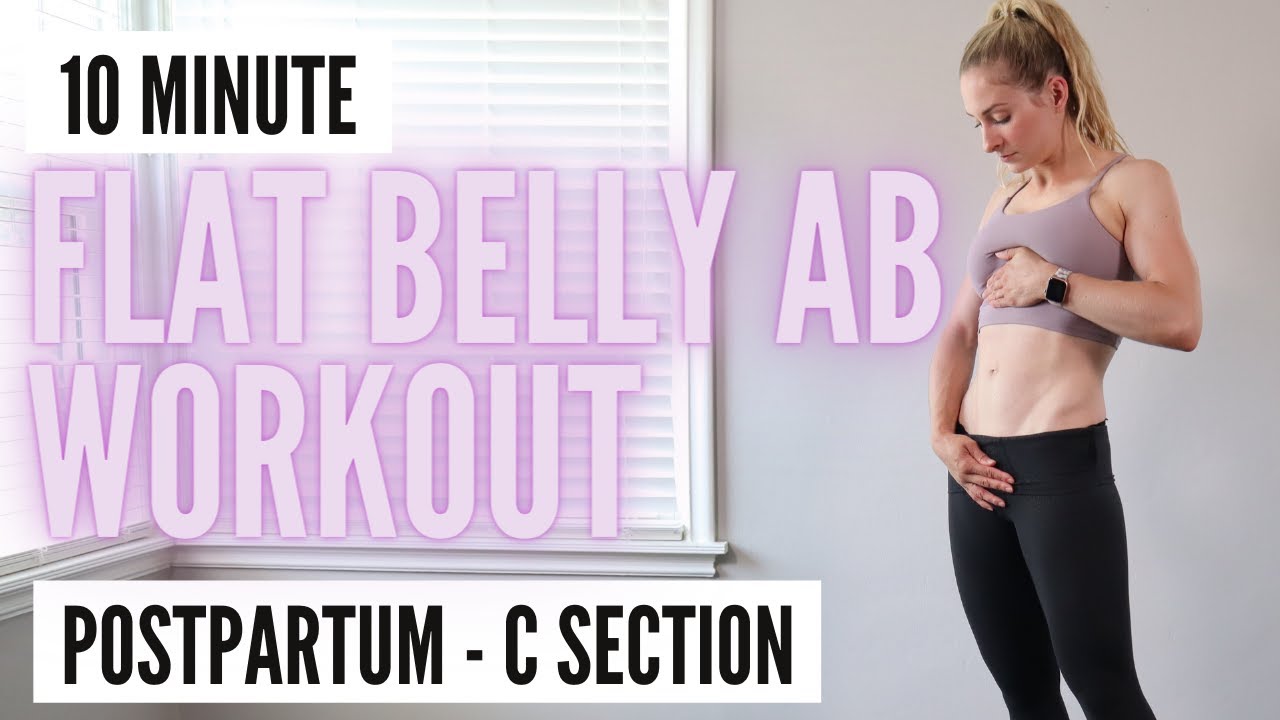
Why You Should Do This Alongside Your Protocol — Starting Today
The herbs, the binding, and the breathing in your 21-day protocol work from the inside — restoring the nerve signal between your brain and your core. This routine works from the outside — training your muscles to respond to that signal as it returns.
Think of it this way: the protocol unlocks the door. This routine teaches your body to walk through it.
You do not need to be strong to start. You do not need equipment. You do not need to leave your bedroom. This is 10 minutes, on the floor, completely safe for your scar — and it compounds the results of everything you are already doing.
- Transverse abdominis (TVA): Your deepest core muscle — the one the C-section disconnected. Every exercise in this routine reactivates it.
- Pelvic floor: Works in tandem with the deep core. Strengthening both together is what produces lasting results.
- Obliques: The side muscles that restore your waistline and provide spinal support.
- Glutes and hamstrings: Engage the pelvic floor from behind, reducing lower back pain and supporting core stability.
How the Routine Works
Total time: 10 minutes. Format: 50 seconds of work, 10 seconds of rest after each exercise. Tempo: Slow and controlled — never rushed. One quality repetition is worth more than ten rushed ones.
Lie on your back. Place your hands by your sides with palms facing up — this stops you from gripping and tensing the wrong muscles. Bend your knees, feet flat on the floor.
Now: draw your belly button gently toward your spine. Press your lower back lightly toward the floor. Hold this connection throughout every movement. This is your brace. Every exercise begins here.
All 8 Exercises — Full Instructions
This is your opening exercise. It begins the process of reactivating the deep core by requiring it to stabilise as one leg moves independently.
- 1Lie on your back. Establish your brace. Both knees bent, feet flat on the floor.
- 2On your exhale, slowly extend your right leg out and downward — keeping it low but not letting your lower back lift. Go to 45 degrees if you can hold your brace. If your back lifts before 45 degrees, stop there.
- 3Inhale to return your right leg to the start position. Switch to the left leg. This is one repetition.
- 4Continue alternating for 50 seconds. Never sacrifice your lower back contact for range of motion.
If your lower back lifts before 45 degrees, only extend the leg to the point where your back stays flat — even if that is barely a few inches. Progress the range over days as your core strengthens.
This is a progression from Exercise 01 — both legs move together, which significantly increases the demand on your transverse abdominis. Only attempt this when single-leg extensions feel controlled.
- 1Lie on your back, brace established. Both knees bent, feet flat.
- 2On your exhale, press both legs out slightly — just a few inches — keeping knees bent. Stop as soon as your lower back feels any urge to lift.
- 3Inhale to return. Do not bring knees all the way to your chest — stop with knees over hips to keep the core engaged continuously.
- 4Continue for 50 seconds. Range is very small — and that is correct.
Return to Exercise 01 (single-leg only) if double-leg extensions cause any lower back lifting or discomfort. There is no rush — your core will get there.
This is the most targeted exercise in the routine for the lower belly pouch specifically. It trains the TVA to resist the weight of your leg — which is exactly what is needed to flatten the lower abdomen above your scar.
- 1Lie on your back, brace established. Lift both legs straight up toward the ceiling, toes pointed.
- 2On your exhale, slowly lower your right leg toward the floor — keeping it straight. Only lower it as far as your lower back stays flat. When your back wants to lift, stop there.
- 3Inhale to return the right leg to vertical. Switch to the left. Alternate for 50 seconds.
- 4Keep the tempo very slow. 3–4 seconds down, 3–4 seconds up.
If straight legs are too heavy, bend the working knee slightly. Even a small bend significantly reduces the load on your core and allows you to maintain proper form.
After targeting the lower belly, this exercise works the sides — rebuilding the waistline and restoring gentle spinal mobility that the body loses after surgery.
- 1Lie on your back. Arms stretched out to the sides, palms facing up. Bring both knees up so they are stacked directly over your hips.
- 2Anchor both shoulders firmly to the floor. This is critical — if your opposite shoulder lifts, you have gone too far.
- 3On your exhale, slowly lower both knees together to the right — only as far as your opposite (left) shoulder stays down. Inhale to return to centre.
- 4Exhale to the left. Inhale to centre. Alternate for 50 seconds. The obliques — not momentum — should drive the motion.
Only lower your knees a few inches to each side initially. Increase the range gradually as your obliques strengthen over days and weeks.
Leg circles require your TVA to work in all directions simultaneously — making this one of the most complete deep core exercises in the routine.
- 1Lie on your back, brace established. Both legs straight up toward the ceiling.
- 2Keeping legs together, move them in a controlled arc: down, around to one side, and back up to centre. This is one circle.
- 3Only lower as far as your lower back stays flat. The circle may be very small at first — that is correct.
- 4Alternate direction each circle for 50 seconds.
Bend both knees slightly to reduce the load. Small bent-knee circles are still highly effective and completely appropriate for early recovery.
The glutes and pelvic floor work as one system. Strengthening your glutes directly supports your pelvic floor — and your pelvic floor directly supports your deep core. This is not just a glute exercise. It is a core exercise.
- 1Lie on your back, knees bent, feet flat on the floor close to your glutes. Arms by your sides.
- 2On your exhale, press through your heels and lift your hips off the floor — squeezing your glutes at the top. Do not lift so high that the load shifts to your lower back.
- 3Lightly tap the floor and immediately lift again — continuous motion for 50 seconds. Keep squeezing the glutes at the top of each lift.
When standard bridges feel easy, lift your toes off the floor entirely — pressing only through your heels. This dramatically increases glute and hamstring activation.
Two variations in one exercise slot — start with pulses, then progress to marching. Both build on the standard bridge by increasing time under tension and then adding hip instability.
- 1Bridge pulses (first 25 seconds): Hold your hips at the top of the bridge. Do small 2-inch pulses up and down — keeping hips high and squeezing the glutes at the top of each pulse. The range is tiny. The burn comes from time under tension.
- 2Marching bridge (second 25 seconds): From the held bridge position, slowly lift your right knee until it comes over your hip. Return. Lift the left knee. Alternate. Keep your hips completely level — they must not drop or shift to either side.
- 3Place your hands lightly on your hip bones during marching as feedback — if you feel one side dropping, slow down and find control before continuing.
If marching feels unstable, return to pulses only for the full 50 seconds. Add marching when the pulses feel completely controlled.
The only non-floor exercise in the routine. This builds lateral core strength — the side of your body that standard floor work does not reach. Both sides are worked for 50 seconds each.
- 1Lie on your right side. Place your right elbow directly under your right shoulder. Bottom (right) leg is bent, top (left) leg is straight. Place your left hand on your left hip.
- 2On your exhale, lift your hips off the floor — driving through your forearm and the bottom of your right waist. Hold briefly at the top.
- 3Lightly tap your hip down and immediately lift again. Continue for 50 seconds. Keep your shoulder away from your ear throughout — do not let it creep up.
- 4Rest 10 seconds, then repeat on the left side for another 50 seconds.
If the side plank causes shoulder discomfort, keep both knees bent — this reduces the load significantly. When the routine becomes easy, progress by bringing your top leg forward (scissor position) which increases oblique demand.
Full 10-Minute Routine Timer
| # | Exercise | Work | Rest | Target |
|---|---|---|---|---|
| 01 | Single-Leg Bent-Knee Extensions | 50s | 10s | TVA · Lower belly |
| 02 | Double-Leg Extensions (Short Range) | 50s | 10s | Deep core |
| 03 | Single-Leg Straight-Leg Drops | 50s | 10s | Lower belly pouch |
| 04 | Supine Oblique Twists | 50s | 10s | Obliques · Waistline |
| 05 | Leg Circles | 50s | 10s | Full core stability |
| 06 | Glute Bridges | 50s | 10s | Glutes · Pelvic floor |
| 07 | Bridge Pulses + Marching Bridge | 50s | 10s | Pelvic stability |
| 08 | Side Plank Hip Lifts (Right + Left) | 50s × 2 | 10s | Lateral core |
How Often to Do This Routine
- Phase 1 (Days 1–7): 3 times this week. Focus entirely on Exercises 01, 04, and 06. Skip 02, 03, 05, 07, 08 until your brace is consistent.
- Phase 2 (Days 8–14): 4 times this week. Add Exercises 02, 05, 07. Continue building the brace before adding range.
- Phase 3 (Days 15–21): 5 times this week. Full routine, all 8 exercises. You will feel significantly stronger than Day 1.
- After Day 21: Do this full routine 3–4 times per week for maintenance. It takes 10 minutes. You will always have 10 minutes.
When I first started moving again after my C-section, I was scared. I didn't know what was safe. I didn't know what was making things worse. I just knew that every program I tried was built for someone who hadn't had surgery.
This routine is different. Every exercise here is specifically selected to work with your healing body — not against it. Some days you will only manage Exercise 01 and the bridges. That is enough. Show up. Do what you can. Your body will meet you where you are.
Ten minutes is all it takes. Start today.